If you’ve been anywhere online these days, you have most likely heard of stock tank pools. These farming fixtures originally intended to provide water to livestock have evolved as a trendy way for homeowners to cool off during the summer months.
Interested in making your own, DIY-style? Then you have come to the right place. Let’s cover the steps on how to make a stock tank pool in this article.
More than 10 million homes have pools, and while the primary reason for having a pool is to cool off, it provides many other benefits to a home, from encouraging recreational activities to moments of family bonding.
From in-ground pools to above-ground pools, there are many types to choose from.
Let’s look at how to construct a stock tank pool. From ordering, installation, and maintenance, as well as some helpful tips for ensuring that your DIY project is a success, let’s dive deep into how to make a stock tank pool.
Page Contents
How to Make a Stock Tank Pool?
Whether it’s budget constraints, aesthetic appeal, or the compact size, a stock tank pool is the perfect affordable pool alternative for hot summer days. Check out how much a stock tank pool costs here.
Choose Your Stock Tank
You may be wondering, How big is a stock tank pool?
In general, a stock tank has a circular or oval shape, a depth of 2 feet, and a diameter that can range from 3 to 10 feet.
You may prefer an oval shape for yourself and your loved one if you prefer an intimate stock tank pool setting, whereas larger options may be better for gatherings of friends and family.

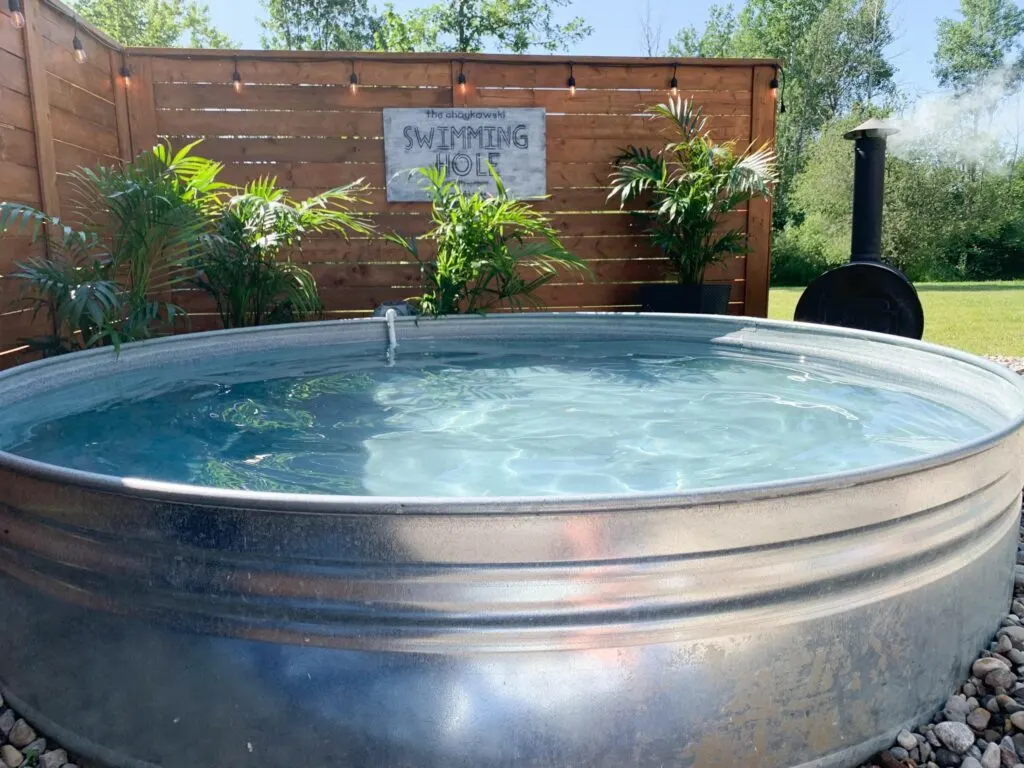
Other than the size, you have the option of choosing plastic or galvanized metal stock tank. Although plastic is less expensive and does not corrode, it tends to break more easily and requires more scrubbing to remove dirt and algae.
For better a better-insulated stock tank pool and for more durability, we suggest getting a metal stock tank.
Lay Down The Pool
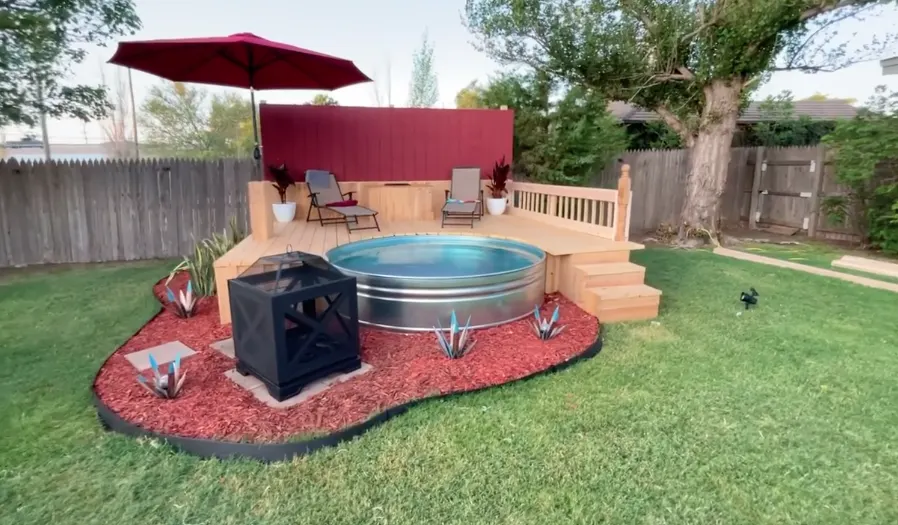
Whether you plan to place your stock tank on a deck, on concrete, on a tiled floor, on a wooden surface, or even place your stock tank pool in the ground, it is essential that the tank is placed on a flat surface. Use a level measuring tool if you have to.
It is important to note that if you plan to place your stock tank pool on the ground, be sure that the ground is solid and not prone to becoming soft. Most stock tank pool owners place their pools on concrete surfaces for this reason.
Furthermore, the weight of a stock tank pool should be considered when placing it on a wooden deck or anywhere elevated since it may weigh up to 6,000 pounds.
Install the Pool Parts
Following the placement of your stock tank, you can proceed to install the parts that finally convert your stock tank into a pool. You may proceed with installing the inlet and outlet, the jets, and the pumps.
Ideally, the inlet should be located near the bottom 2/3 of the tank wall, while the outlet should be located near the top 2/3 on the side wall. You will also need to cut out holes using a hole saw.
After that, the pool pump is attached to the hoses on the inlet and outlet. As the heart of your pool’s circulation system, it treats and filters the water, returning cleaner and healthier water.
Ensure all fittings are installed correctly and follow the materials’ instructions. Ensure that all joints and seams are sealed and that they are allowed to dry for at least a full day before use.
Afterward, you can finally fill up the pool to your preferred level.

Spruce Up Your Space
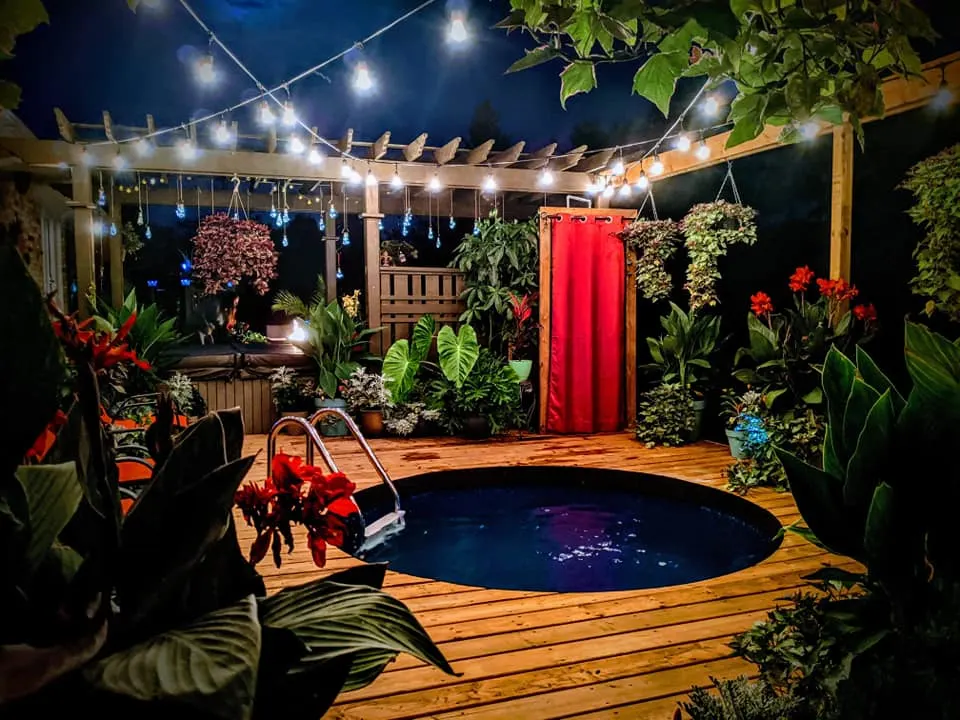
Stock tank pools complement backyard decor well due to their versatility.
Your backyard space can be completely renovated as a DIY project depending on the amount of money you wish to invest in the project, with the stock tank pool serving as a complimentary element.
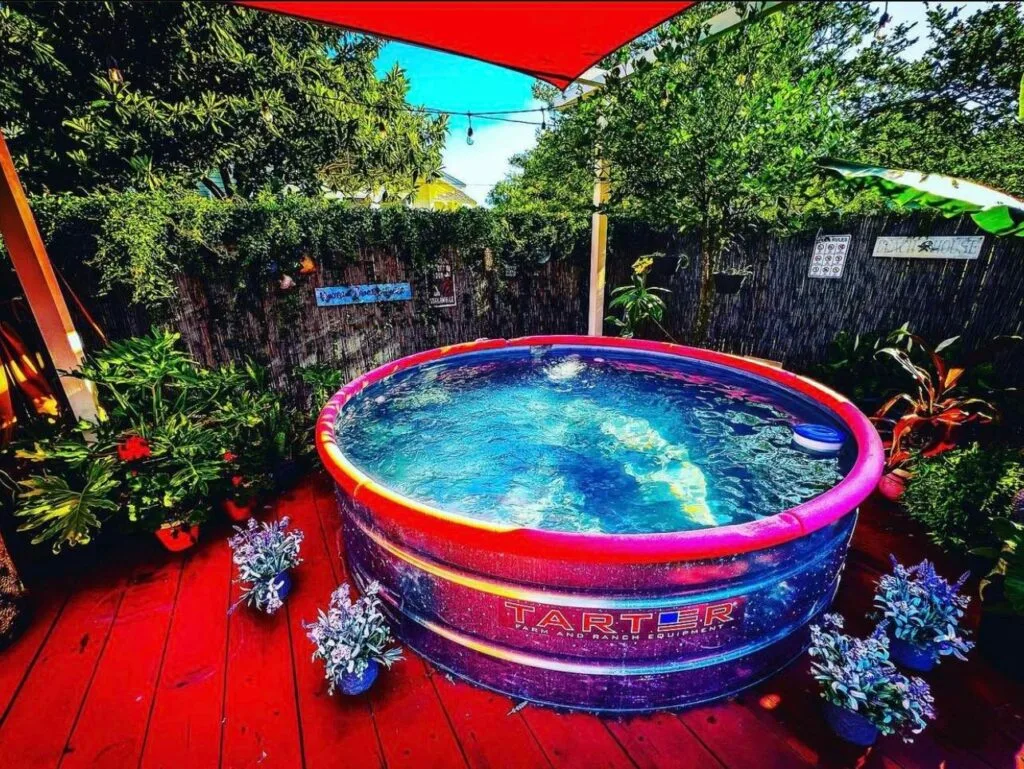
Paint bright colors and tropical patterns to make a stock tank pool stand out, or embrace the quaint country-style barndominium aesthetic.
If you already have a shelter or tree shade, you can install a stock tank pool there as a money-saving way to transform your outdoor space.
If you keep your budget in mind, the design is ultimately up to you, and the possibilities are endless.
Maintenance is Key
Stock tank pools are inexpensive and easy to maintain compared to other types of pools. Basic stock tank pool maintenance costs include buying chlorine tablets, a pool skimmer, a pool cover, a water quality test kit, and a pool vacuum for thorough pool cleaning.
Use a skimmer net to catch larger debris like dead leaves, sticks, and bugs, and add around two 1-inch chlorine tablets each week to keep your pool water clean and prevent algae formation.
The water filter will also need to be replaced occasionally, usually every two weeks or so, as needed. This will depend on the amount of dirt accumulated in the pool.
Due to their smaller size, stock tank pools can use smaller pumps to filter and clean the water, making them water and energy efficient.
Additionally, frequent pool refills can be costly, so we recommend using mosquito netting to cover your pool during busy days to prevent mosquitoes from breeding in standing water.
Are you planning a budget-friendly home? If so, you might consider a barndominium when making a stock tank pool for your backyard.

Final Thoughts
Now that you know the steps on how to make a stock tank pool, you can already get yours today. Stock tank pools are relatively inexpensive, easier to install, and maintenance is a breeze, so you should try this pool alternative!
Noah Edis is a passionate staff writer at Barndominium Life, a leading online resource for all things barndominium. With years of experience in the writing industry, Noah has made a name for himself as a skilled storyteller and a knowledgeable authority on the topic of barndominiums.
Noah’s interest in barndominiums began when he stumbled upon the concept while researching alternative housing options. Intrigued by the rustic charm and functionality of these converted barns, he soon became obsessed with the idea of living in one himself. He spent countless hours researching the construction, design, and decorating aspects of barndominiums, and soon became an expert on the topic.
As a staff writer at Barndominium Life, Noah enjoys sharing his knowledge and passion for these unique homes with others. He has written numerous articles covering a wide range of topics, from the history of barndominiums to the best ways to decorate them. Noah’s writing is informative, engaging, and always on-trend, making him a valuable asset to the Barndominium Life team.
Noah is a graduate of the University of British Columbia, where he earned a degree in English Language and Literature. When he’s not writing about barndominiums, he can be found exploring the great outdoors, trying new restaurants, or spending time with his family and friends. Noah is dedicated to his craft and is always striving to improve his writing skills and knowledge of the barndominium lifestyle.
Connect with Noah on LinkedIn
