
Daniel Sowell Barndominium
Thanks for visiting BarndominiumLife.com today. You’re in good company.
Our mailing list has doubled just in this past week, as our number of page views went way beyond 13,000 for the month of February.
Our presence on Pinterest has also mushroomed from zero monthly viewers to well over 150,000.
And we’ve just started our own Youtube channel to help spread the word through unbiased reports and upbeat videos that show just what’s possible inside a simple warehouse-style metal building.
Finally, a growing interest in barndominiums has caused an explosive quest for relevant knowledge to expand beyond Texas and surrounding states to go nationwide and even into parts of Canada.
And even beyond that, clear across the Atlantic to The Netherlands, where an earnest young lady asked us in broken English recently if we would please sell her a barndominium.
We referred her to a kit manufacturer who ships overseas. But a simple fact remained.
Page Contents
Those seeking unbiased knowledge have found none.
Many of you who subscribed have indicated a keen interest in building a barndo on your own to save a little (or a lot of) money.
But up to now, nothing like a comprehensive guide to building a barndominium has existed.
Oh, sure. you could pick up a little generic information by going to the websites of professional builders. But it was (and still is) slanted toward getting you to let them build one for you at prices beginning at $135 to $150 a square foot.
Please don’t take that reference as a blanket indictment against barndominium builders. They’re perfect for folks who want a barndominium, but don’t want to do any of the work themselves.
We’ve put together entire lists of reputable, excellent companies elsewhere on the site who can deliver your barn home exactly as you envision it.
And then they back up their build with a guarantee to fix things that aren’t right at no charge — provided it was their fault to begin with.
If you build it yourself, you’re on the hook for anything that’s not right. That’s not something to be taken lightly with an investment this big.
Here’s the bottom line on building barndominiums
Until now, you needed experience in constructing large metal buildings — in addition to understanding how a stick-built dwelling goes together — from top to bottom, exterior to interior.
You had to either have a lot of prior building experience — particularly on metal buildings — or know someone with those skill sets. That is, you needed a wealth of prior experience if you wanted to have a good chance of erecting a well-done, true barndominium.
So, we decided to check in with several members of our 4500-member Facebook group. We wanted to talk to barndo owners — those who built their barn home without using a professional barndominium builder — to find out how they did it.
The results of our research have been remarkable.
They have validated what has long been downplayed by traditional barndo builders — that you can save as much as 50% in final costs by acting as your own general contractor.
One owner builder can prove definitively that he built his good-looking 5,000 square foot barndominium last year in a rural county in Texas for only $70 a square foot.
Remember what the pro builders are asking? Their barndos start at $135 to $150 a square foot.
Granted, that owner builder had plenty of construction management experience, having built a string of duplexes in the southern part of Dallas-Fort Worth.
But what about others, with next to no experience in building anything? We reached out to those folks, too.
A questionnaire went out to still more owner builders
That questionnaire also turned up a wealth of facts and foibles, things they learned, or. looking back; wish they’d done differently
And this article will be the first of a series reporting the answers to that questionnaire and placing them in a resource library on the website.
Each one will be sent first to our rapidly growing list of subscribers. They have all indicated a specific desire for detailed, reliable tips and information on how to create the barndo of their dreams — whether that’s next week or several years in the future.
Then these accounts will be posted on the site and combined with other very useful information harvested at various times from the Facebook forums.
Finally. once everything is added to this treasure trove of arcane and invaluable facts, figures, tips, hacks and insider advice, it will all be available at the touch of your finger — anywhere in the world — and even via your iPhone or Android device.
Just enter the keyword or topic you want to know about, and in a nanosecond you’ll have one or more answers.
All from folks who are arguably in the best position to answer it — barndominium owner builders and other experts specifically knowledgeable on how to build a barndominium..
Okay. So, who do we hear from first?
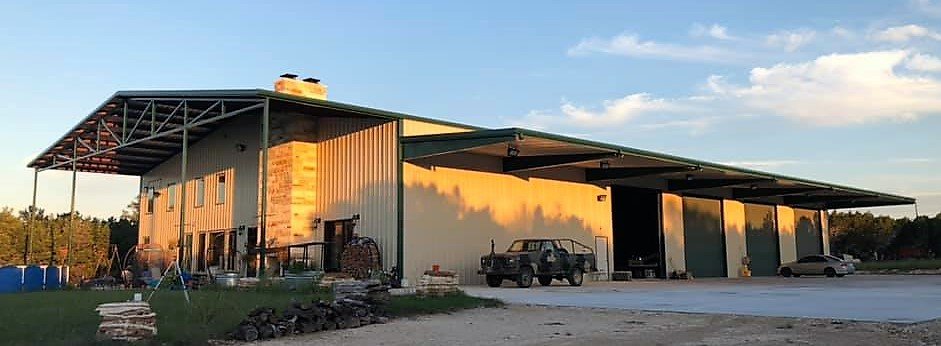
Since this article is already running a little long, we will just give a small portion today of the tremendously helpful advice shared by owner-builder Daniel Sowell, who built the magnificent barndominium at the top of this article.
Today, he offers his own step-by-step checklist to follow as you plan for construction of your own barndo.
Photos by Cesar Cerda, a friend and subcontractor.
Question. What steps did you take on your way to building your barndo?
“I networked and found two different people in my general area that had built a barndominium similar to what I wanted. Then, I was able to tour their barndominiums prior to putting together any real plans;
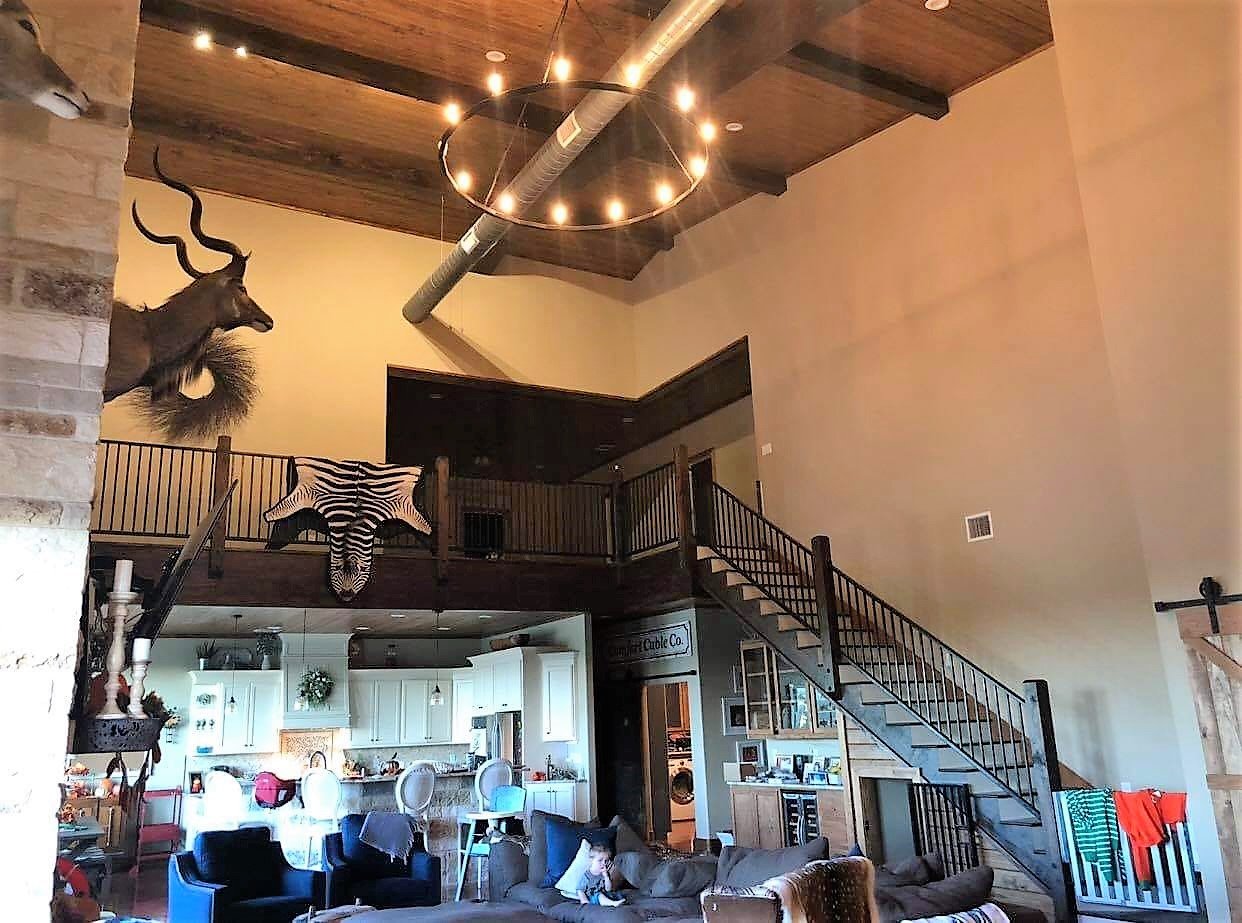
“This was the best thing I did, and is why I built mine with 22 ft eave heights.
“The property that I bought, I made sure that there were no restrictions. I worked on my floor plans for only a few months prior to pouring the foundation.
“I never dealt with county (they didn’t even require a permit for septic since I have over 10 acres). Only dealt with them for my entrance off the paved county road.
“I was the GC (General Contractor) for the project (I didn’t swing the hammer very much). I specialize in foundation repair and roofing and I poured the slab right after 3 large hail storms that hit my servicing areas….
“So, I was very busy just running my company during my build. I poured my foundation with my crew, and sub-contracted most everything else…erecting the structure, framing, electrical, plumbing, masonry, sheetrock, paint, spray foam insulation, etc.
“I did have a master carpenter install my ceilings, trim out, built-ins, cabinets (except kitchen cabinets).”
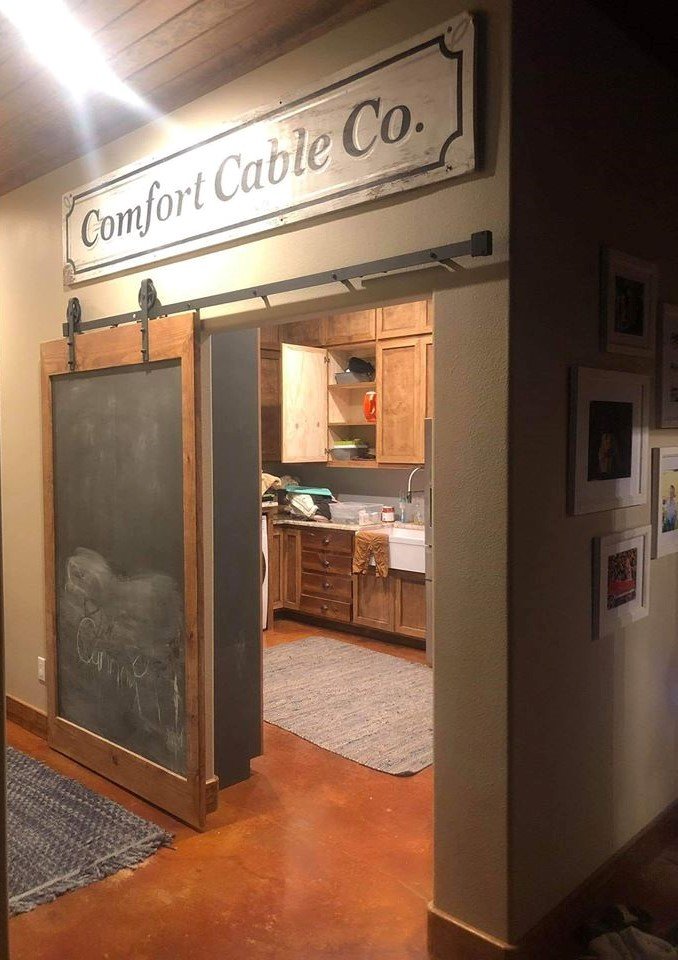
photo by Cesar Cerda
Want to know what his final cost per square foot was?
It is truly amazing — and inspirational to those who might want to go the same route in getting their dream barndo built — and saving thousands of dollars.
“My building is 80X140. I have a 20 roof extension on one gable end wall (patio cover) and a lean-to that is 20 ft out along the 140 ft section. My roofline is 100X160 with entire structure at 22 ft eves.
“It came in at $30 a sf….building, concrete, erected, overhead doors, electrical.
“My finish out cost was around $55 sf. This is based on 5,500 sf. My shop/garage is 80X100 (8,000 sf), my living space is 40X80 (3,200 sf) but is 2 stories. I have a great room which I cannot count the entire square footage. My A/C and heated square footage is 6,400SF. I do not count any porches as sf.”
So, effectively, $85 a sq ft. On 6400 sq. ft. heated space
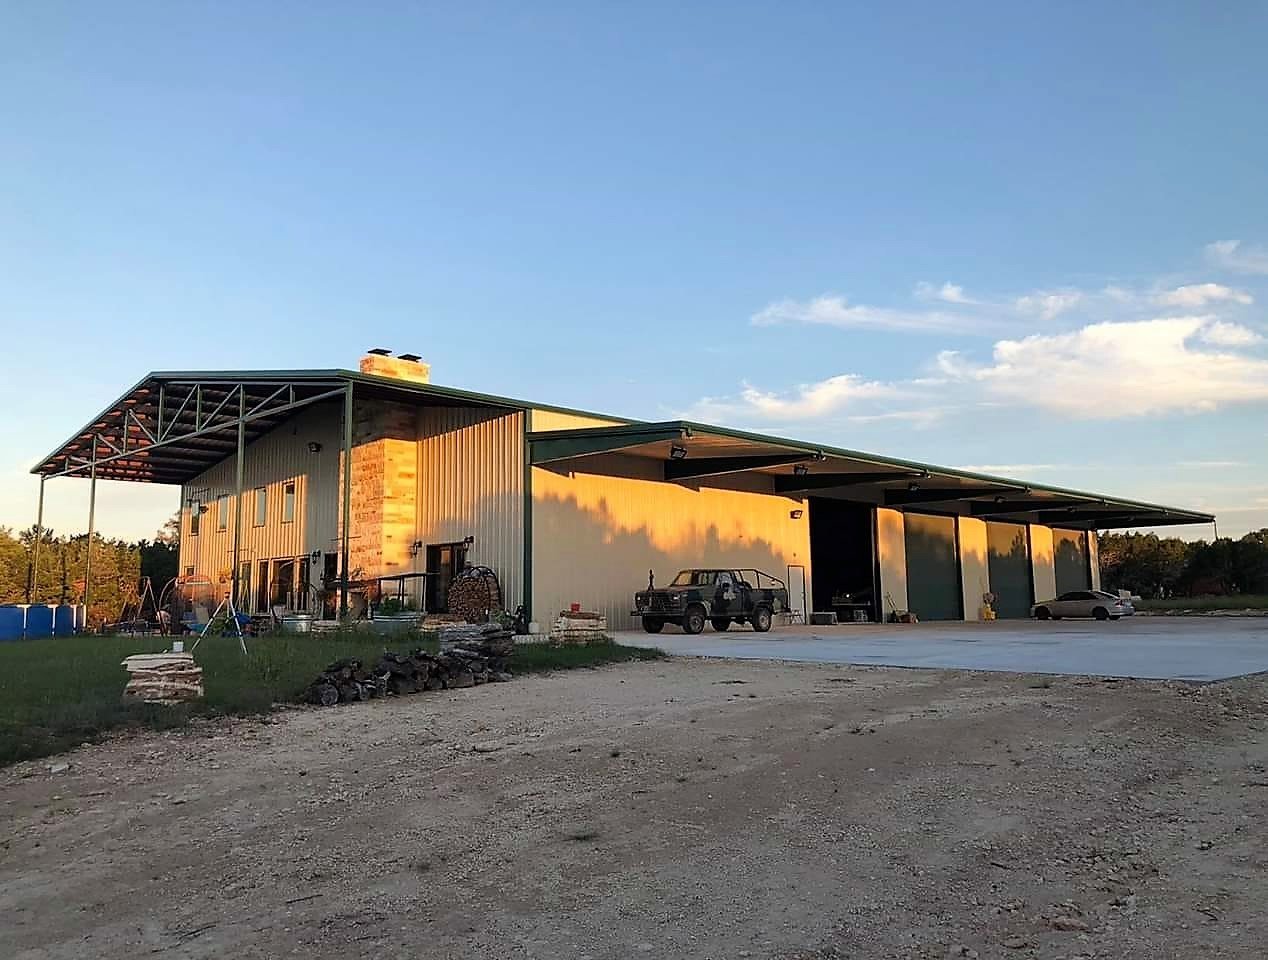
Photo by Cesar Cerda
If you were to create a list of steps for someone to follow in building their barndominium, what might they be, in order from first to last?
- Locate land without restrictions on what you want to do
- Research, plan, ask questions…plan plan plan
- Make sure you have water and septic installed or at least figured out. (I would do water well first to make sure you have good water).
- Rough in plumbing and pour concrete slab. (Make sure you install a ground rod in slab to ground a metal building properly).
- Erect metal building, or frame shell (get it dried-in)
- Install windows (make sure you order cabinets now, because they can take some times 4-8 weeks, until they are ready)
- Frame out inside walls
- Top out plumbing and electrical
- Masonry work if any (fireplace)
- Spray foam insulation
- Install A/C and heat and any wood walls, or ceilings. Or any metal walls, ceilings.
- Install doors, tubs
- Sheetrock (drywall), tape & float texture – (I stained concrete floors right after sheetrock)
- Cabinets (measure immediately for counter tops)
- Paint (can do this after step 13 too)
- Countertops
- Tile work
- Trim out, carpet, fixtures, etc
- Move in, be happy, and spend the next few years decorating.
So that’s what we have for today
We hope it has been enlightening and helpful as you go about the business of building your “forever home.”